- Home QZ
- Tool Basics
- 12 tools worth owning before your first DIY job
12 tools worth owning before your first DIY job
Finding out what tools I need to start a DIY project is the first step in home repair. Build a basic kit with these 12 hand and power tools.
Guide by Milo Nussbaum
8 min of reading
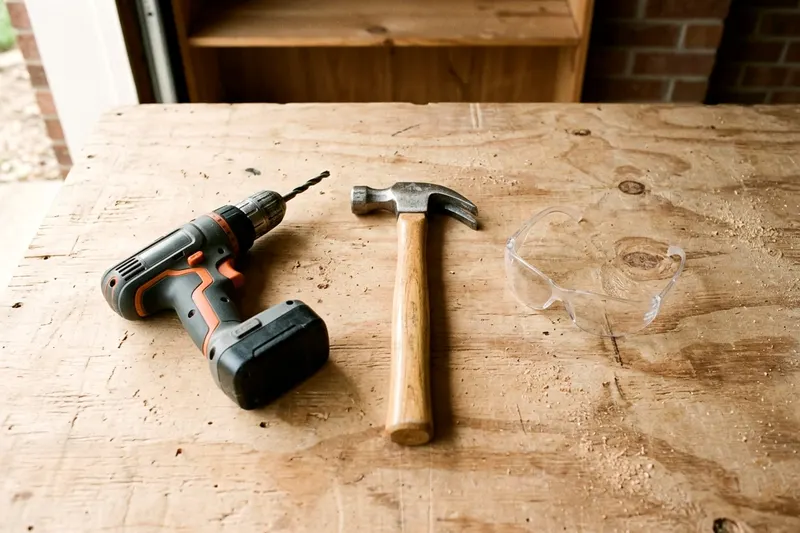
Finding out what tools do i need to start a DIY project is the first step in home repair. A basic toolkit starts with safety gear, measuring tools, a few hand tools and a cordless drill. This small kit covers many basic repairs and beginner building projects. Buy these core items first and rent heavy equipment only when a specific job demands it.
1. Safety glasses, hearing protection and work gloves
Protect your eyes and hands before you open a paint can or swing a hammer. OSHA says appropriate protective equipment such as safety goggles and gloves must be worn against hazards met when using hand tools. Safety glasses help guard against flying wood splinters and metal dust. Thick work gloves help prevent blisters and cuts from sharp edges.
Add a dust mask to help keep sawdust and drywall particles out of your lungs, and check its label to see what it is made for. Wear hearing protection when you run a loud tool such as a circular saw. Buy a pair of foam earplugs or hard plastic earmuffs. Keep this safety gear right at the top of your toolbox.
2. Tape measure
A tape measure gives you the exact length of a room or a piece of lumber. Look for a tape with a wide metal blade. A wide blade stays straight across long distances so you can measure a wall alone. Hook the metal tip over the edge of a board and pull the tape taut to mark your cut.
Push the thumb lock down to freeze the tape in place while you mark the wood. Release the lock slowly so the metal blade does not snap back and pinch your fingers. Keep the tape straight. A bent blade gives an inaccurate measurement and ruins your cut.
3. Carpenter's pencil
Standard pens and pencils break on rough wood or drywall. A flat carpenter's pencil lays flush against a straight edge for a tight marking line. The flat shape also stops the pencil from rolling off your workbench.
Sharpen the thick lead with a utility knife to carve a durable point. This thick point marks concrete and rough lumber clearly without snapping. Keep a few sharp pencils in your pocket so you never have to hunt for one.
4. Speed square
A metal speed square guides your saw for a perfectly straight crosscut. Press the square's raised lip flat against the edge of a board and draw your pencil along the adjacent flat edge to mark a right angle. You can also hold the square tight to the wood and run your saw base against it. This trick can help you get a straight cut with a circular saw more often.
The square also acts as a protractor for cutting angles. Hold the pivot point against the wood and rotate the tool until the degree mark lines up with the edge. The thick aluminum body usually holds up to drops. Wipe sawdust off the numbers so they stay easy to read.
5. Torpedo level
A torpedo level tells you if a picture frame or a shelf sits perfectly flat. The liquid vial in the center checks horizontal level, and the vial on the end checks vertical plumb. Rest the level's flat edge on top of your material. Adjust the material up or down until the bubble floats exactly between the two black lines.
A level also acts as a straight edge for drawing cut lines on drywall. Press the aluminum body flat against the wall and run your pencil along the top. Do not drop your level. A hard impact can damage the vials and the tool's accuracy.
6. Utility knife
A utility knife cuts open boxes, scores drywall and slices through old caulk. Choose a knife that uses replaceable razor blades. A sharp blade requires less force to cut thick materials, which means the knife is less likely to slip out of your hand. Retract the blade into the handle as soon as you finish the cut.
Many utility knives store spare blades in the handle, so check yours. Swap the blade as soon as it feels dull. A dull blade rips the paper facing on drywall instead of cutting it cleanly.
7. Multi-bit screwdriver
A single handle with interchangeable tips turns many of the screws in your house. The handle usually stores flathead and Phillips bits in a few different sizes. Swap the bit to match the screw head tightly and prevent the metal bit from slipping and destroying the screw. Hand drivers give you precise control when tightening cabinet hinges or light switch plates.
Look for a driver with a magnetic shaft. The magnet holds the screw to the tip so you can start driving it with one hand. This leaves your other hand free to hold a cabinet door or a shelf bracket in place. Wipe the metal bits with a dry cloth after you finish working to prevent surface rust.
8. Claw hammer
A claw hammer drives nails into wood and pulls bent nails back out. The smooth steel face strikes the nail head without denting the surrounding surface. The curved metal claw on the back wedges under a nail head to pry it free. Grip the handle near the bottom to get the most power out of every swing.
Place a small block of scrap wood under the hammer head before you pry a long nail. The wood block gives you more pulling power and protects your wall from metal scuff marks. Keep your eye on the nail head rather than the hammer as you swing. This focus improves your accuracy.
9. Adjustable wrench
An adjustable wrench turns nuts and bolts of different sizes. Turn the small thumb wheel to open or close the metal jaws, and fit them snugly around the bolt head before you apply pressure. The tight grip stops the wrench from rounding off the corners of the bolt. Keep a wrench on hand to assemble furniture or tighten plumbing fittings.
Do not use an adjustable wrench on round plumbing pipes. The flat jaws only grip flat-sided nuts and bolt heads. Use a pipe wrench with curved teeth for round pipes. Pull the wrench toward your body rather than pushing it away to keep better balance if the nut suddenly breaks loose.
10. Locking pliers
Locking pliers clamp down on stripped screws or stubborn bolts and hold them tight. Squeeze the handles together to lock the toothed jaws onto the metal. Turn the knob at the end of the handle to adjust the clamping pressure. The tool maintains its grip on the material so you can use both hands to twist the fastener free.
Many locking pliers feature a small wire cutter near the base of the jaws. Snip heavy string or thin wire that is not connected to power with this cutter. Wipe a drop of machine oil into the pivot joint occasionally. The oil keeps the locking mechanism moving smoothly.
11. Cordless drill driver
A cordless drill driver powers screws into wood and drills holes in drywall. This is the first power tool you need because hand driving long screws is slow and exhausting. Buy a powerful cordless drill to handle basic home repairs. Practice on scrap wood to learn how to drive screws with a drill without stripping them.
Turn the numbered collar behind the drill chuck to adjust the clutch. A low number stops the drill from driving a small screw too deep and cracking the wood.
Always remove the battery before you swap a drill bit. OSHA advises disconnecting power tools when not in use and when changing accessories such as blades, bits and cutters. This helps keep the drill from spinning if you bump the trigger.
12. Circular saw
A circular saw cuts thick sheets of plywood and trims lumber to length. This tool earns its keep as soon as you start building shelves or fences. Rest the metal baseplate flat on the wood and push the spinning blade through your marked line. Adjust the blade depth before you make a cut and follow your saw's manual for the right setting.
Check your equipment carefully. OSHA says power tools must be fitted with guards and safety switches. Test the spring-loaded blade guard before every cut to make sure it covers the teeth.
Handle a corded saw gently. OSHA advises never carrying a tool by its cord or yanking the cord to unplug it. If you find a frayed cable, stop working. OSHA advises taking damaged portable electric tools out of use and tagging them Do Not Use.
Tools worth renting instead of buying
Rent bulky or expensive equipment you might only use once. A heavy duty hammer drill is made for concrete, and a wet tile saw is made for tile but takes up a lot of space afterward. Floor sanders and heavy demolition hammers are specialty machines. Many hardware stores rent them.
Renting keeps your garage clear and can cost less than buying a tool you will use once. Ask the rental clerk to demonstrate the machine before you load it into your vehicle. Ask the shop how it wants the tool returned.
How to store the kit so you can find it
A plastic toolbox holds every hand tool on this list. Buy a box with a removable top tray and put your multi-bit screwdriver, utility knife and carpenter's pencil there for quick access. Drop the hammer, wrench and square into the deep bottom section. Label the outside of your toolbox with a thick marker to stop you from digging through multiple boxes to find one specific tool.
Keep your drill and circular saw in their original hard plastic cases. These cases stack neatly on a garage shelf and protect the motors from dust. Store the battery charger right next to the drill case so you always start your work with a full charge.
Line up your next job
-
6 steps to a straight cut with a circular saw
Learn how to use an electric hand saw safely with these six basic steps. Set the blade depth, support the wood, and make a straight cut.
-
How to drive screws with a drill without stripping them
Learn how to use power drill to screw without stripping the head or splitting the wood by choosing the right bit and setting the clutch correctly.
-
DIY wainscoting a beginner can put up in a weekend
Building DIY wainscoting adds character to a plain room in a single weekend when you follow these simple steps to measure, cut and paint.