- Home QZ
- Painting Walls
- Can you paint over wallpaper or should it come down
Can you paint over wallpaper or should it come down
You can paint over wallpaper if it is flat and stuck tight to the wall. Learn how to seal the paper, when to strip it and the steps to do both jobs well.
Guide by Neil Mudgett
7 min of reading
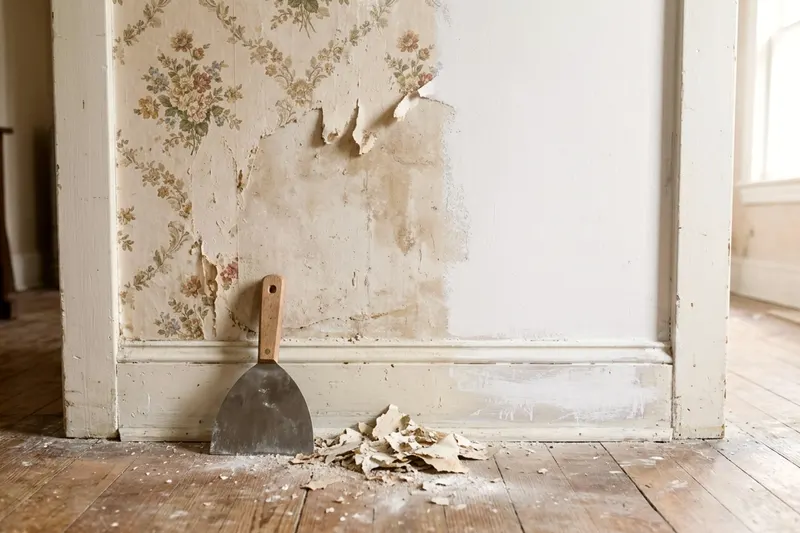
You can paint over wallpaper if the paper is flat and glued tightly to the wall. You must strip it down to the drywall if it has a raised texture or a shiny vinyl surface.
When painting over wallpaper works
Drywall paper tears easily when you scrape hard adhesive. You will spend days fixing those gouges with joint compound. Leaving flat paper alone saves the wall.
You can leave the paper up if it sits flat against the wall. Rub your hand across the surface. You want a smooth feel with no raised bumps. Check the seams where the panels meet.
The seams must sit tight against the wall with no peeling. Look closely at the corners of the room. Paper often lifts there first. Run your hand down the edge of the window trim.
Press your fingernail into the paper. Hard paper takes paint well. Spongy paper will absorb paint and bubble. You also need to count the layers.
Find a loose edge near a baseboard and peek underneath. Single-layer paper is the safest kind to paint. Multiple layers of old wallpaper will separate under the weight of wet paint. The moisture travels through the top layer and melts the old paste below.
When the paper has to come off
Texture usually shows through paint. You cannot hide an embossed wallpaper pattern with a thick coat of primer. The paint will highlight the pattern instead of hiding it. You have to remove textured paper.
Flocked wallpaper falls into this group too. The fuzzy velvet patterns catch the wet paint and leave a lumpy mess. You will waste expensive paint trying to cover it.
Vinyl wallpaper also needs to come down. Paint may not stick well to slick vinyl. The wet paint will bead up and run down the wall. It leaves bare streaks and messy drips on your baseboard.
Even if the paint dries, it can peel off in long strips the first time you bump the wall. Sanding vinyl to rough it up may just melt or tear the plastic.
Peeling paper tells you the glue is failing. Wet paint adds weight and moisture, and the moisture reactivates old wallpaper paste.
Failing glue will give way completely. Whole sheets of paper will fall down. Bubbles in the middle of a panel mean the same thing. You cannot paint over air pockets.
Check older walls for lead paint before you scrape
Older homes hide forgotten hazards under fresh layers. The EPA says homes built before 1978 may have lead based paint. The agency adds that about three quarters of US homes built before 1978 still contain some lead based paint.
Stripping wallpaper often pulls flakes of old paint off the drywall. Sanding the wall throws that old paint into the air as dust. You must know what you are dealing with. The EPA says a certified lead based paint inspector or risk assessor can determine whether a home has lead based paint.
Do not guess. Hire a certified inspector or risk assessor to test the walls before you scrape, and treat the paint as lead based until you know. Put on a respirator and safety goggles before you make your first cut or scrape on the wall. Wear heavy work gloves to protect your hands.
If you have to sand old paint, the EPA advises you to wet the area first. You must sand the minimum area needed and clean up thoroughly. Use a damp rag to wipe down the baseboards and the floor. Collect the dust in a heavy trash bag.
Test a patch before you commit
A simple test shows how the paper will react to wet paint. Pick a spot behind a door or near the floor. You want an area that stays out of sight. A square foot of space is plenty for a good test.
- Brush a square foot of oil-based primer onto the wallpaper.
- Wait for the primer to dry completely.
- Brush a coat of latex wall paint over the primer.
- Let the paint cure for the time on the can.
- Slice a shallow cross into the paint with a utility knife.
- Press clear tape over the cross and rip it off quickly.
Check the back of the tape. If the tape comes away clean, the wallpaper is secure. You can paint the room.
If the paint or paper comes off with the tape, the old glue failed. The new paint pulled the paper right off the drywall. You have to strip the room.
Prep and seal the paper so it does not bubble
Paint needs a clean surface. Dust the walls from the ceiling down to the floor with a dry microfiber cloth. Wipe the paper with a damp sponge and a drop of dish soap. Remove grease and dust.
Let the walls dry completely before you move on.
Glue down any loose corners. Squeeze a drop of wallpaper seam adhesive under the loose edge. Press the paper flat with a damp rag. Wipe away the excess glue.
Use wallpaper seam adhesive, not school glue. Wait for the adhesive to set as the label says.
Cover the vertical seams so they disappear under the paint. Spread a thin layer of drywall joint compound over every seam with a putty knife. Feather the edges out wide so the seam blends into the wall. Wait for the compound to dry hard.
Sand the dried compound smooth with fine sandpaper. Wipe the dust away with a tack cloth.
Seal the whole wall with an oil-based primer or a shellac primer. Water-based primer can soak into the paper and loosen the old wallpaper paste, so the paper may bubble and pull away from the drywall. Oil and shellac primers block more moisture.
Open the windows for ventilation and follow the safety directions on the primer label. The fumes from these primers are strong. Roll the primer on evenly. Leave it to dry overnight.
Prime and paint over the paper
The sealed wall acts just like normal drywall. You can use standard water-based latex paint. Buy a good quality interior acrylic latex paint in your chosen finish.
Flat or matte finishes hide small bumps better than glossy finishes. Glossy paint reflects light and shows every flaw on the wall.
Cut in the edges first. Dip an angled brush into the paint. Tap the brush on the side of the can to stop drips.
Paint a border along the ceiling and the baseboard. Brush the paint into the corners of the room. Work your way around the room one wall at a time. Roll the broad areas of the wall immediately after you brush the edges.
Keep a wet edge to avoid ugly streaks. Roll the wet paint into the wet border you just brushed. This stops lap marks from drying into the finish. Roll in a W pattern to spread the paint out evenly.
Fill in the gaps with straight vertical rolls. Work from the ceiling down to the floor. Do not press hard on the roller.
Let the first coat dry. Check the paint can for the exact wait time before a second coat. Roll a second coat over the wall to build a solid color.
Two thin coats look much better than one thick coat. Thin coats dry harder and resist scratching.
Strip it the gentle way if it must go
Do not rush stripping or you will tear the drywall paper beneath. Torn drywall requires a skim coat of joint compound to fix. That adds days of tedious work to your project.
Score the wallpaper to let the water inside. Roll a wallpaper scoring tool lightly over the walls in small circles. The tool pokes tiny holes in the surface. Press gently.
You want to pierce the wallpaper, not the drywall. Cover the floor with plastic drop cloths to catch the mess. Tape the plastic tightly to the baseboards.
Mix liquid wallpaper stripper with hot water in a garden sprayer. Spray the walls until the paper looks soaked. Work in small sections. Check the stripper label for how long to wait.
The paper should look dark and wet. If it dries out, spray it again.
Push a plastic putty knife under a seam. A metal scraper can gouge the wet drywall. Lift the paper gently. Peel it back at a sharp angle.
Pull it slowly so it comes off in large sheets. If the paper tears into tiny pieces, it needs more water. Spray it again and wait. Keep the wall wet.
Wash the bare wall with a coarse sponge and warm water. Scrub the last bits of glue away. The wall must feel completely smooth. Let the drywall dry completely before you prime it.
Line up your next job
-
What to know before painting a popcorn ceiling
Find out what to check before painting a popcorn ceiling, from asbestos and lead tests to a light-touch rolling method that keeps the texture in place.
-
8 steps to painting an interior door without drips
Learn a clear method for painting interior doors without drips or brush marks in eight steps that cover prep work, sequence and drying times.
-
How to paint a room in the right order
Learn how to paint a room in the right order, from clearing and prep to the ceiling, walls and trim, so drips never land on a finished surface.