- Home QZ
- Painting Walls
- What to know before painting a popcorn ceiling
What to know before painting a popcorn ceiling
Find out what to check before painting a popcorn ceiling, from asbestos and lead tests to a light-touch rolling method that keeps the texture in place.
Guide by Neil Mudgett
7 min of reading
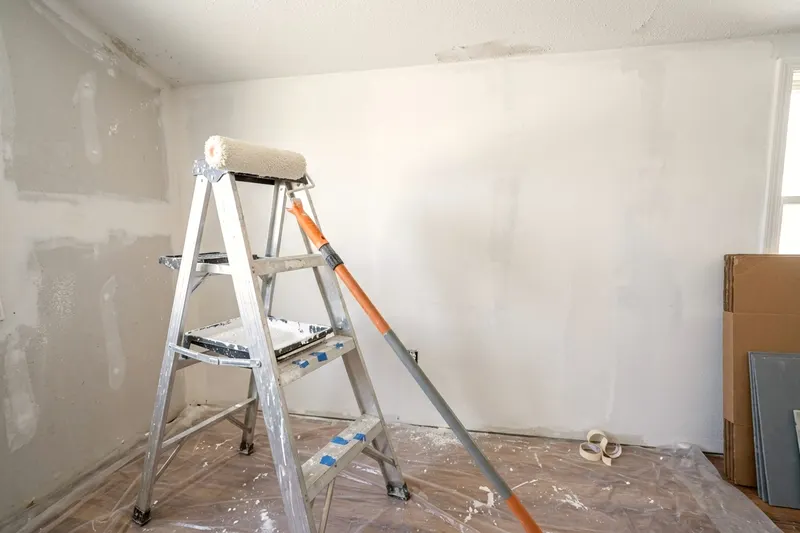
Painting a popcorn ceiling begins with checking the old texture for harmful materials. Once you know the surface is safe and stable, you can roll on fresh paint. Use a thick nap roller and a light touch to keep the bumps intact and brighten the room.
Why older textured ceilings need a test first
The EPA lists textured paint and patching compounds used on walls and ceilings among places asbestos may be found. This means your popcorn ceiling might hide a serious health hazard. The EPA says homes built before 1978 may have lead based paint, so it makes sense to check for both materials before you start painting popcorn ceiling surfaces.
The problem with asbestos and lead is the dust. Rolling paint over a ceiling can stress the texture, and small pieces may break off and fall to the floor. You could breathe in the dust while you work, or track it through the house on your shoes.
The EPA says you generally cannot tell whether a material contains asbestos by looking at it unless it is labeled. A trained professional should send a sample to a laboratory. Do not assume a ceiling is safe just because the bumps look like harmless paper or styrofoam. A visual check is usually not enough.
Leave suspect texture alone until it is tested
The EPA advises not to saw, sand, scrape or drill holes in asbestos containing materials. You want to avoid disturbing the texture in any way. Keep ladders, brooms and tall furniture away from the ceiling.
Do not attempt to scrape a small piece off for a home testing kit. The EPA says a trained and accredited asbestos professional should take samples and that taking samples yourself is not recommended. An accredited professional is trained to take samples with less risk of spreading dust.
Hire a local professional to test the ceiling for both asbestos and lead, and wait for the laboratory results to come back before you buy any paint. If the ceiling contains either material, leave the surface alone and ask a qualified professional about your options before painting. If the results show the ceiling is free of asbestos and lead, you can move on to the next step.
Check whether the texture is loose or stable
A safe ceiling still needs a stability check. Popcorn texture is often just a dry mix sprayed onto the drywall. Moisture and age can weaken the bond over time. You need to know if the texture will hold up to a wet paint roller.
Put on safety goggles and a dust mask before you test the surface. Find a hidden spot near a corner or inside a closet. Press a damp sponge against the texture for a few seconds. Watch what happens when you pull the sponge away.
Stable texture stays put. It might feel slightly soft, but the bumps remain on the drywall. This means the surface can handle a fresh coat of paint.
Loose texture falls off in clumps. The damp sponge will pull the popcorn right off the ceiling. If the texture turns to mush or falls away easily, you cannot roll paint over it because the roller will just peel the ceiling down as you work. A peeling ceiling may need a professional to spray the paint or cover the drywall entirely.
Protect the room and work from a steady platform
Painting a textured ceiling is a messy job. The thick roller holds a lot of paint, and the rough surface causes the paint to splatter. Emptying the room completely protects your belongings, so take all the furniture out and store it in another room. Tape over the light fixtures and vent covers so paint stays off them.
Lay down heavy canvas drop cloths over the entire floor. Canvas absorbs wet paint splatters so you do not track them around the house. Tape plastic sheeting over the walls if you plan to keep the current wall color, and run the painter's tape right along the top edge where the wall meets the ceiling. Planning your painting order usually puts the ceiling first anyway.
Set up a sturdy work platform. A rolling baker's scaffold is a good option for ceiling jobs. It gives you a wide area to stand on. You can reach a large section of the ceiling without stepping down.
A tall step ladder is the next best option. Make sure the ladder is tall enough that your head sits a short distance below the ceiling. You never want to stretch or overreach while working overhead. Move the ladder frequently instead of leaning out to the side.
Cut in the edges with a quality brush
A paint roller cannot reach all the way into the corners of a room. You must paint the perimeter of the ceiling with a brush first. This process is called cutting in. Use an angled trim brush for the best control.
Pour a small amount of ceiling paint into a hand cup. Dip the bottom third of the brush bristles into the paint. Tap the brush gently against the inside of the cup to stop drips.
Press the brush against the ceiling slightly away from the wall. Wiggle the bristles gently to push the paint into the heavy texture. Drag the brush slowly along the edge, keeping the line as straight as possible.
Cutting in a textured ceiling takes time because the bumps grab the brush and make it hard to paint a sharp line. Do not rush this step. Work your way around the entire room until the ceiling has a painted border. Let the cut edge dry slightly before you start rolling the main ceiling.
Use a thick nap roller and light pressure
A standard wall roller will not reach into the deep grooves of a popcorn ceiling. You need a roller cover with a long nap. A thick nap cover works well for average texture. Use an extra thick nap cover for very deep or heavy texture.
Pour your ceiling paint into a wide bucket with a roller screen. A screen helps load the roller evenly without making a mess. Dip the thick nap roller into the paint. Roll it up and down the screen until the cover is fully saturated but not dripping.
Attach the roller frame to an extension pole. The pole lets you use two hands for better control. This keeps you off the ladder as much as possible. Lift the roller to the ceiling and press very lightly.
You want the paint to transfer into the texture without crushing the bumps. Let the thick nap do the work. Pressing too hard squeezes the paint out and pulls the wet texture off the ceiling. Keep your hands relaxed and use a light touch.
If the ceiling has never been painted, the dry texture will soak up a lot of paint. It will look patchy at first. Do not press harder to force the paint in. Keep your pressure light and plan for a second coat later.
Roll one direction and avoid going back over it
The rule is to touch the texture as little as possible. Every time the wet roller passes over the bumps, the moisture weakens the texture. Roll a single stripe of paint across the ceiling. Move over slightly and roll the next stripe, with a small overlap.
Always roll in a single straight direction. Do not roll back and forth in a zigzag pattern. Do not drag the roller sideways. Apply the paint in long, smooth strokes.
Once you cover a section, leave it alone. Resist the urge to go back and touch up a thin spot. Going back over wet texture can pull it down. The paint will dry unevenly, and the ceiling will look worse than when you started.
Work your way across the room in small sections. Try to keep a wet edge so the sections blend together nicely. A thick roller cover holds enough paint to cover a small square before you need to reload.
Reload the roller frequently to keep the paint flowing easily. A dry roller tugs at the ceiling and pulls the texture loose. Keep the roller wet and moving forward.
Painting an entire ceiling takes physical effort. You will spend a lot of time looking upward while holding the heavy roller. Take frequent short breaks to rest your arms and neck. Do not rush the final sections, because tired hands press too hard and damage the damp texture.
Wait for the first coat to dry completely, and check the paint can for the drying time.
If you need a second coat to get an even color, apply it exactly like the first. Roll in a single direction and keep a light touch.
Once the final coat dries, carefully peel the painter's tape away from the walls. Pull the tape at a sharp angle to avoid peeling the wall paint. Remove the plastic sheeting and fold up the drop cloths.
Line up your next job
-
8 steps to painting an interior door without drips
Learn a clear method for painting interior doors without drips or brush marks in eight steps that cover prep work, sequence and drying times.
-
Can you paint over wallpaper or should it come down
You can paint over wallpaper if it is flat and stuck tight to the wall. Learn how to seal the paper, when to strip it and the steps to do both jobs well.
-
How to paint a room in the right order
Learn how to paint a room in the right order, from clearing and prep to the ceiling, walls and trim, so drips never land on a finished surface.